
White Noise for Linux has an x86-64 AppImage and Flatpak bundle, plus portable tarballs for x86-64 and ARM64. Choose the package for your processor, then create a password-protected device vault and add a Nostr account.
Text follows the reviewed Linux source. Screenshots show v2026.10.6-build.1 with synthetic offline data. Controls can differ; cross-client messaging and full recovery have not been verified.
Get the app
Open the project's GitHub releases. Download one package, not all three formats.
ARM64 users should use the ARM64 tarball, not an x86-64 AppImage or Flatpak. The reviewed release instructions do not provide a 32-bit Linux package or a musl/Alpine compatibility guarantee.
AppImage
The AppImage is x86-64 only and bundles its libraries, fonts and emoji. Japanese text needs a system Noto Sans CJK font: install noto-fonts-cjk on Arch, or fonts-noto-cjk on Debian and Ubuntu.
In the folder containing your download, make that AppImage executable and run it. The wildcard commands below assume there is only one matching download in that folder:
chmod +x WhiteNoise-*-x86_64.AppImage
./WhiteNoise-*-x86_64.AppImage
Flatpak
The Flatpak bundle is x86-64 only. It requires Flatpak, with the GNOME 50 runtime used by the bundle.
Install the downloaded bundle for your user account, then launch it:
flatpak install --user WhiteNoise-*-x86_64.flatpak
flatpak run dev.ipf.whitenoise
Flatpak keeps its app data under ~/.var/app/dev.ipf.whitenoise/. The Launch at login setting operates outside the sandbox.
Portable tarball
The portable tarball requires glibc 2.39 or newer. Download WhiteNoise-<version>-linux-amd64.tar.gz for x86-64 or WhiteNoise-<version>-linux-arm64.tar.gz for ARM64.
Extract the entire archive with your archive manager and keep its files together. Open the extracted folder and run its top-level whitenoise script. Do not launch an internal binary after separating it from the bundled resources.
“Portable” describes the package, not a promise that account data stays beside the executable. Settings > Storage > Location shows the app's data directory.
Create the device vault
Before you continue: There is no vault-password reset that preserves your secrets. Store the password somewhere safe. Losing it can leave you unable to use this device's keys and encrypted data, even if you still have a settings backup.
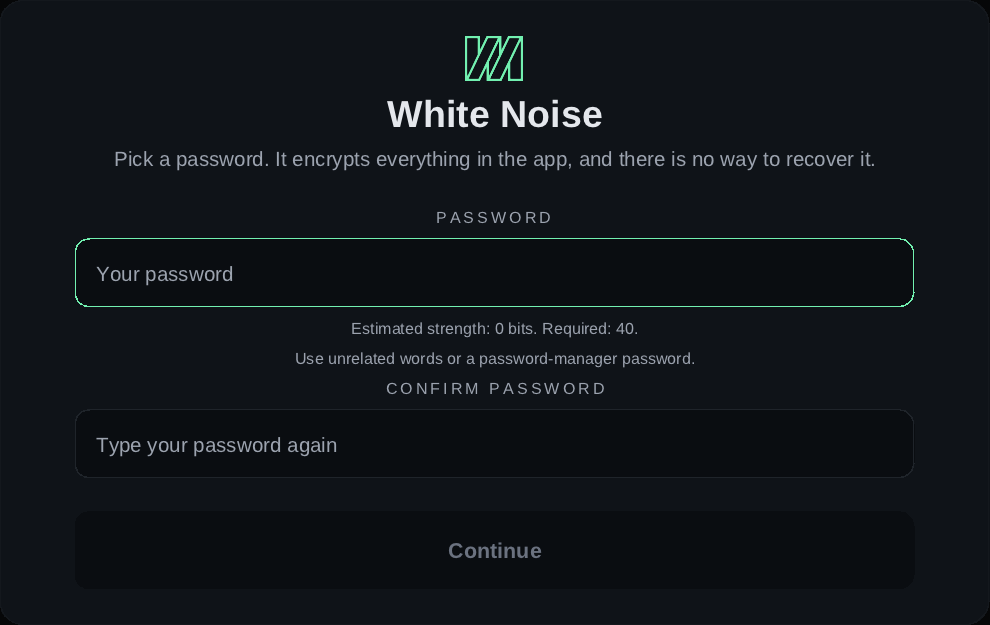
- Open White Noise. A new installation asks you to pick a password.
- Enter a unique password in Password, then repeat it in Confirm password.
- Choose Continue. If the strength check rejects it, use unrelated words or a password-manager password.
The password strength check runs offline. It does not require a particular mix of character classes. Later launches show Unlock, which needs this device's vault password. The password is separate from your Nostr private key and any password you choose for an exported backup.
Add an account
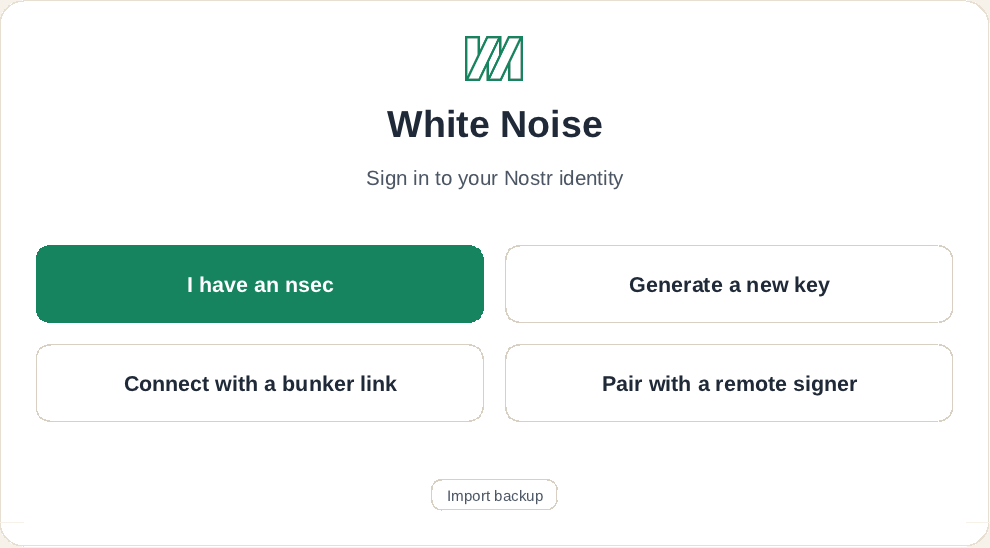
The sign-in screen offers four choices:
- Generate a new key creates a Nostr identity and publishes a starter profile. Published profile details and profile pictures are public. Edit them later from Your profile.
- I have an nsec imports an existing private key. Paste the
nsec1...value and choose Continue. Annpubis public and cannot sign you in. - Connect with a bunker link accepts a
bunker://link supplied by your NIP-46 remote signer. Choose Continue, keep the signer open, and approve its requests there. - Pair with a remote signer asks for a signer relay such as
wss://.... Choose Create pairing link, then scan the displayed code in your signer or use Copy pairing link for itsnostrconnect://link. Approve the connection and requested signatures in the signer.
A local account keeps its private key in this device's encrypted vault. A remote-signer account keeps the identity private key in the signer; White Noise stores its client-session and device-local keys in the vault. Reveal and export are unavailable for a remote signer's private key. Keep a separate backup in that signer.
Import backup on the sign-in screen imports the Linux settings backup, not an account or message-history backup. For an encrypted ncryptsec identity backup, read Back up and recover your account before removing your old installation.
If sign-in fails, read the error and use Copy error if you need help. Remote connections may offer Review signer approval link or Cancel connection. Do not generate another key to recover the identity you already use.
Finish getting connected
On an empty Chats page, Get started checks relay connectivity, your published key package, and your first chat. Use Check now for a waiting check and Publish if no key package is published. Key packages let people invite you.
Before changing devices or removing an account, back up its identity. Then follow Send a message.